Create images and 3D renders with AI — step by step
Product shots, logos, illustrations, full 3D scenes — described in a sentence, generated in seconds. Here's how to get results that look professional instead of obviously AI-made.
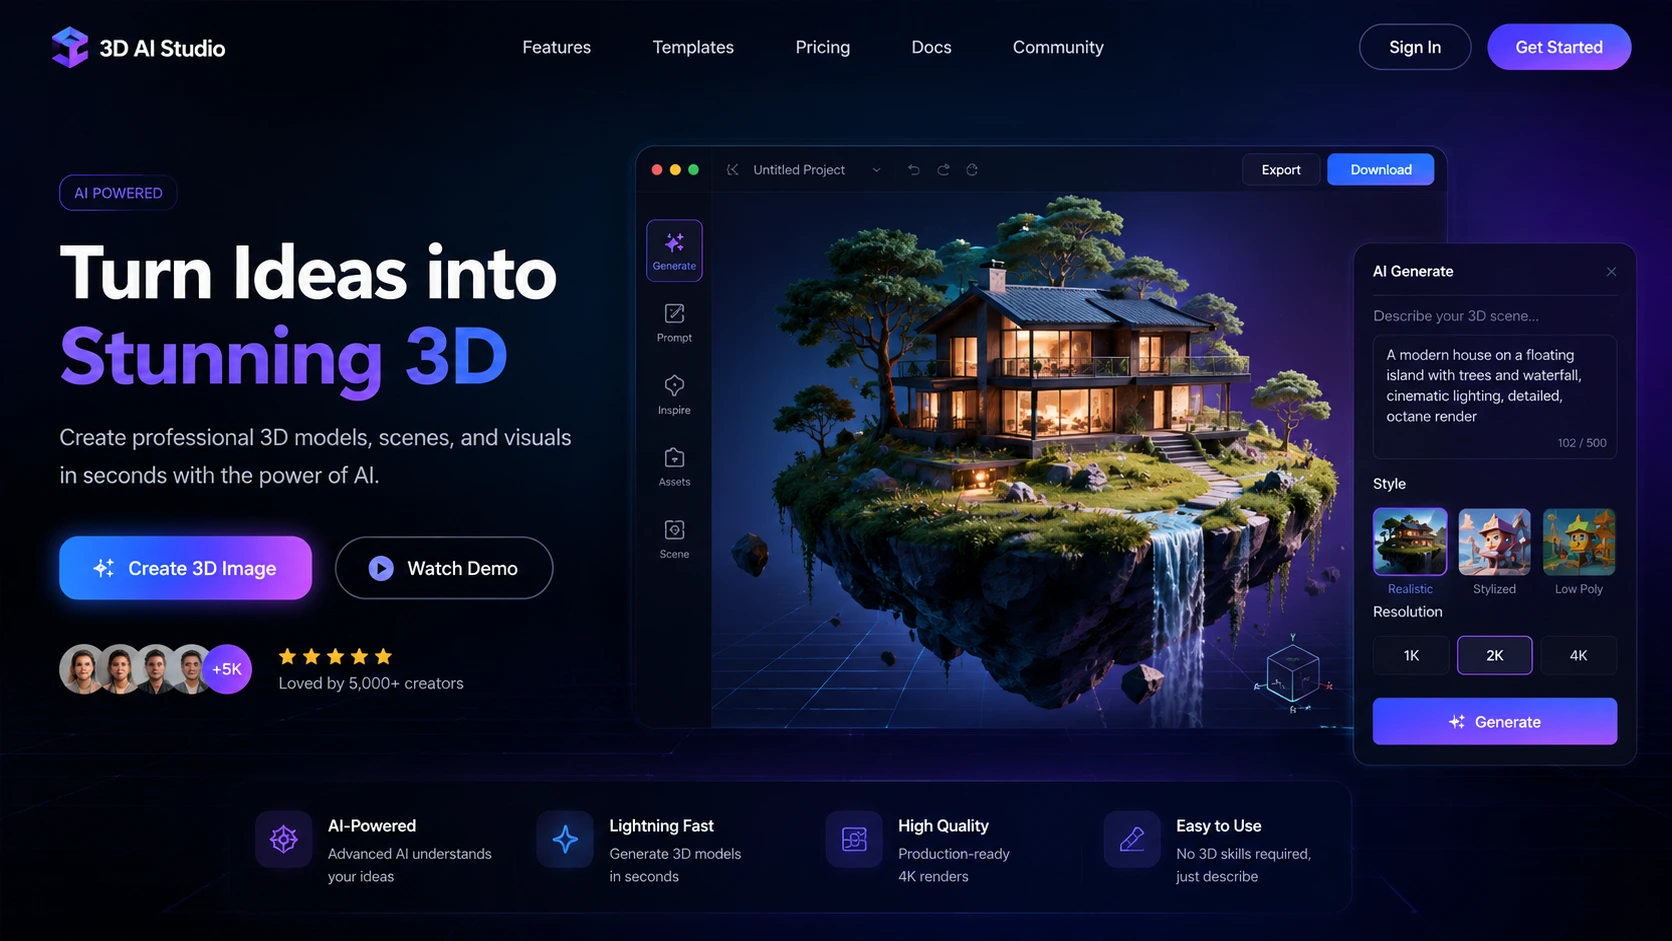
The process
-
Know what the image is for
A product photo, a social post, a website hero, a logo — each needs different framing and sizing. Decide the destination before generating.
-
Collect 1–3 reference images
Screenshots of styles you like. Most tools accept a reference image alongside your text — it's the single biggest quality improver.
-
Pick a tool below and paste the starter prompt
Start with our Best Choice. Fill the brackets with your subject and style words.
-
Iterate on the details
Regenerate with small changes: lighting ('softer light'), angle ('from above'), style ('more minimal'). Change one thing at a time so you can tell what worked.
-
Upscale and export
Once you have the winner, use the tool's upscale/HD option before downloading — especially if it's going on a website or print.
Your starter prompt
[Subject — e.g. "a ceramic coffee mug with a minimal logo"] on [background/setting], [lighting — e.g. "soft studio lighting"], [style — e.g. "clean product photography" / "3D render" / "flat illustration"], [mood], high detail, professional quality.

Avoid: text, watermarks, extra objects, distorted proportions.